Try JHipster using Docker

This blog is written to help you to test JHipster, without worrying much about installation of it. It’s been a year with Jhipster, as a token of appreciation to community, writing this blog for those who wants to try out this platform quickly.
- Pre-requirements
- Step 0.1: Create Docker file
- Step 0.2: Create app.jdl file
- Step 1: Build the Container
- Step 2: Run the Jhipster App
- Source Code
JHipster is a development platform to quickly generate, develop, & deploy modern web applications & microservice architectures. It’s been a year with Jhipster, as a token of appreciation to community, writing this blog for those who wants to try out this platform quickly.
Pre-requirements
Step 0.1: Create Docker file
Create a file, name it as Dockerfile, add below content.
FROM node:14.16
RUN apt-get update && apt-get install -y libasound2 libxtst6
RUN wget https://download.bell-sw.com/java/11.0.11+9/bellsoft-jdk11.0.11+9-linux-amd64.deb && \
    apt install ./bellsoft-jdk11.0.11+9-linux-amd64.deb

RUN npm install -g generator-jhipster

RUN  [ "java", "-version" ]
RUN jhipster --version

RUN mkdir app
COPY app.jdl /app
RUN cd /app
RUN export NG_CLI_ANALYTICS=ci
WORKDIR  /app
RUN [ "jhipster", "jdl", "app.jdl", "--no-insight"]
Step 0.2: Create app.jdl file
JDL - JHipster Domain Language to define your app, for more try this jdl-studio I wanted to keep it simple and short, so here I am creating entity News to store news.
application {
  config {
    applicationType monolith
    authenticationType jwt
    baseName NewsFeed
    buildTool maven
    clientFramework angularX
    clientTheme yeti
    clientPackageManager npm
    databaseType sql
    devDatabaseType h2Disk
    dtoSuffix DTO
    enableHibernateCache true
    enableSwaggerCodegen true
    enableTranslation false
    jhiPrefix hg
    packageName com.news.app
    prodDatabaseType postgresql
    reactive false
    searchEngine false
    serverPort 8080
    serviceDiscoveryType no
    skipClient false
    skipServer false
    testFrameworks []
    websocket false
  }
  entities *
}

entity News {
  name String
  icon ImageBlob
  date LocalDate
  content TextBlob
}
Step 1: Build the Container
First let’s build the container, which installs the JHipster in local, creates the application with News entity.
docker build -t jhipsterlab:latest .
Step 2: Run the Jhipster App
docker container run --name jhipsterLab -p 9999:8080 -it jhipsterlab:latest /bin/bash ./mvnw
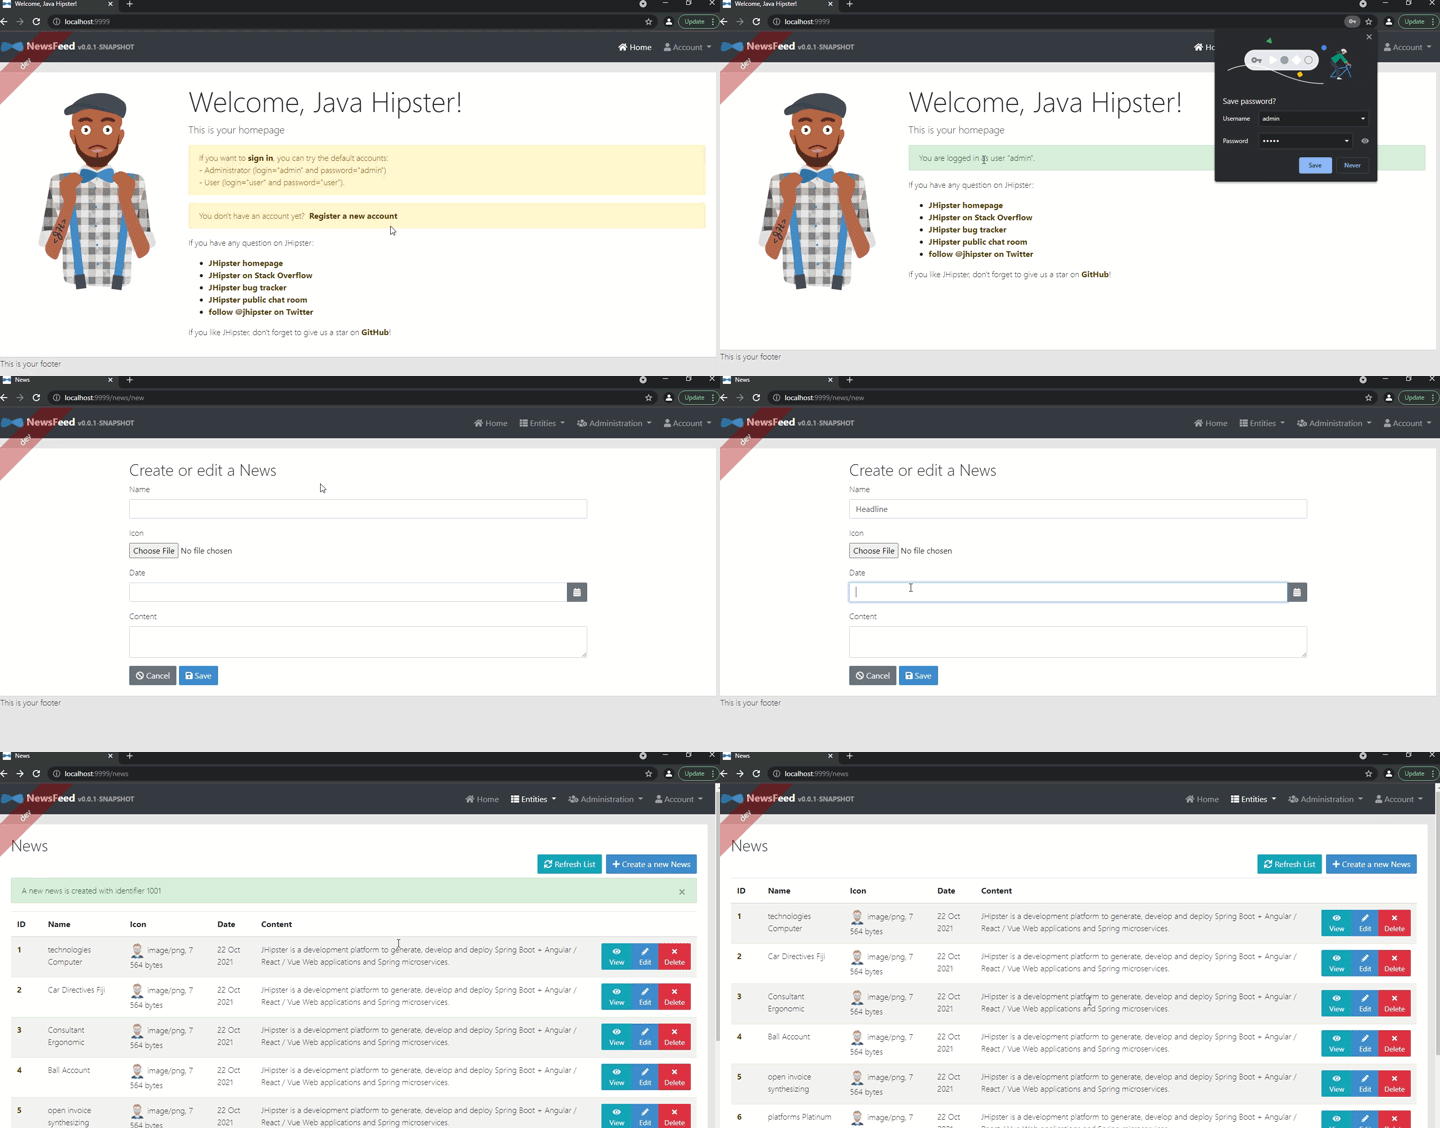
Now your application is running in below port. http://localhost:9999

Source Code
Entire project is avialble here, feel free to clone and play around. https://github.com/notesbyair/jhipster-hello-world-app